
The Exposure Triangle for Humans: Lighting Made Simple
Walking into a studio for the first time can feel like stepping into a physics lab. Between the towering softboxes, the silent hum of the power packs, and the technical jargon flying around, it’s easy to lose sight of why we’re here in the first place: to create something beautiful.
One of the biggest hurdles for any emerging photographer is the "Exposure Triangle." It’s often taught with complex diagrams and mathematical ratios that feel more like a trigonometry exam than an art form. But at Von Creative, we believe that technical knowledge shouldn't be a barrier to entry. It should be the foundation that sets you free.
Let’s strip away the "stops" and "fractions" for a moment and talk about light the way we talk about life. At its heart, the exposure triangle is just a balance of three simple things: How bright is it? How blurry is the background? And how much motion do we see?
The Three Pillars of Your Image
Think of your camera as a room with a single window. Your goal is to let in just enough light so you can see what’s inside: not so much that it’s blinding, and not so little that it’s pitch black. You have three ways to control that light.
ISO: The Light Sponge (How Bright)
ISO is essentially your camera’s sensitivity to light. If you think of your camera sensor as a sponge, ISO determines how "thirsty" that sponge is.
Low ISO (e.g., 100 or 200): The sponge is barely thirsty. It needs a lot of actual light (sunlight or studio strobes) to get "full." Because it isn't working hard to find light, the image is incredibly clean, smooth, and detailed.
High ISO (e.g., 3200 or 6400): The sponge is desperate. It’s trying to soak up every tiny drop of light it can find. This makes the image brighter in dark rooms, but it comes with a trade-off: "noise" or grain.
In our Richlands photography studio, we usually have the luxury of controlled lighting. This means you can keep your ISO low (around 100), ensuring your clients get those crisp, high-end commercial-grade files without a hint of grain.
Aperture: The Eyelid (How Blurry)
Aperture is the opening in your lens. Think of it like your own eyelid. If you squint, you’re using a small aperture. If you open your eyes wide in a dark room, you’re using a large aperture.
Beyond just letting in light, Aperture controls your Depth of Field: which is just a fancy way of saying "how much of the photo is in focus."
Wide Open (Small f-number like f/1.8): You’re letting in a ton of light. This creates that creamy, blurry background (bokeh) that makes portraits pop. It’s the "dreamy" look.
Narrowed Down (Large f-number like f/11): You’re letting in very little light. This keeps everything from the tip of the model’s nose to the back of our 22-foot wide cyclorama wall in sharp focus.
If you’re shooting a branding session and want the focus entirely on the subject’s face, go wide. If you’re shooting a large group or a commercial product where every detail matters, narrow it down.
Shutter Speed: The Blink (How Much Motion)
Shutter speed is the amount of time the camera's "eye" stays open. It’s the length of the blink.
A Fast Blink (e.g., 1/500th of a second): This freezes time. If a model is tossing their hair or jumping, a fast shutter speed captures that split second with perfect clarity. No blur, just a moment suspended.
A Slow Blink (e.g., 1/60th of a second or slower): This lets in more light because the eye is open longer, but it also records any movement that happens during that time. This creates "motion blur."
In a studio setting, shutter speed is often used to "kill" the ambient light: meaning you set it fast enough so that the only light the camera sees is the flash from your strobes. This gives you total control over the mood of the shot.
The Balancing Act: The Three-Legged Stool
Imagine a three-legged stool. If you shorten one leg (let’s say you lower your ISO to get a cleaner image), the stool will tip over unless you lengthen one of the other legs (by slowing your shutter speed or opening your aperture).
Every time you make a choice about one, it affects the others.
Want a blurry background (Large Aperture)? You might have to speed up your shutter so the photo isn't too bright.
Want to freeze a dance move (Fast Shutter)? You might need to crank up your ISO or open your aperture to compensate for the lost light.
Putting It Into Practice at Von Creative
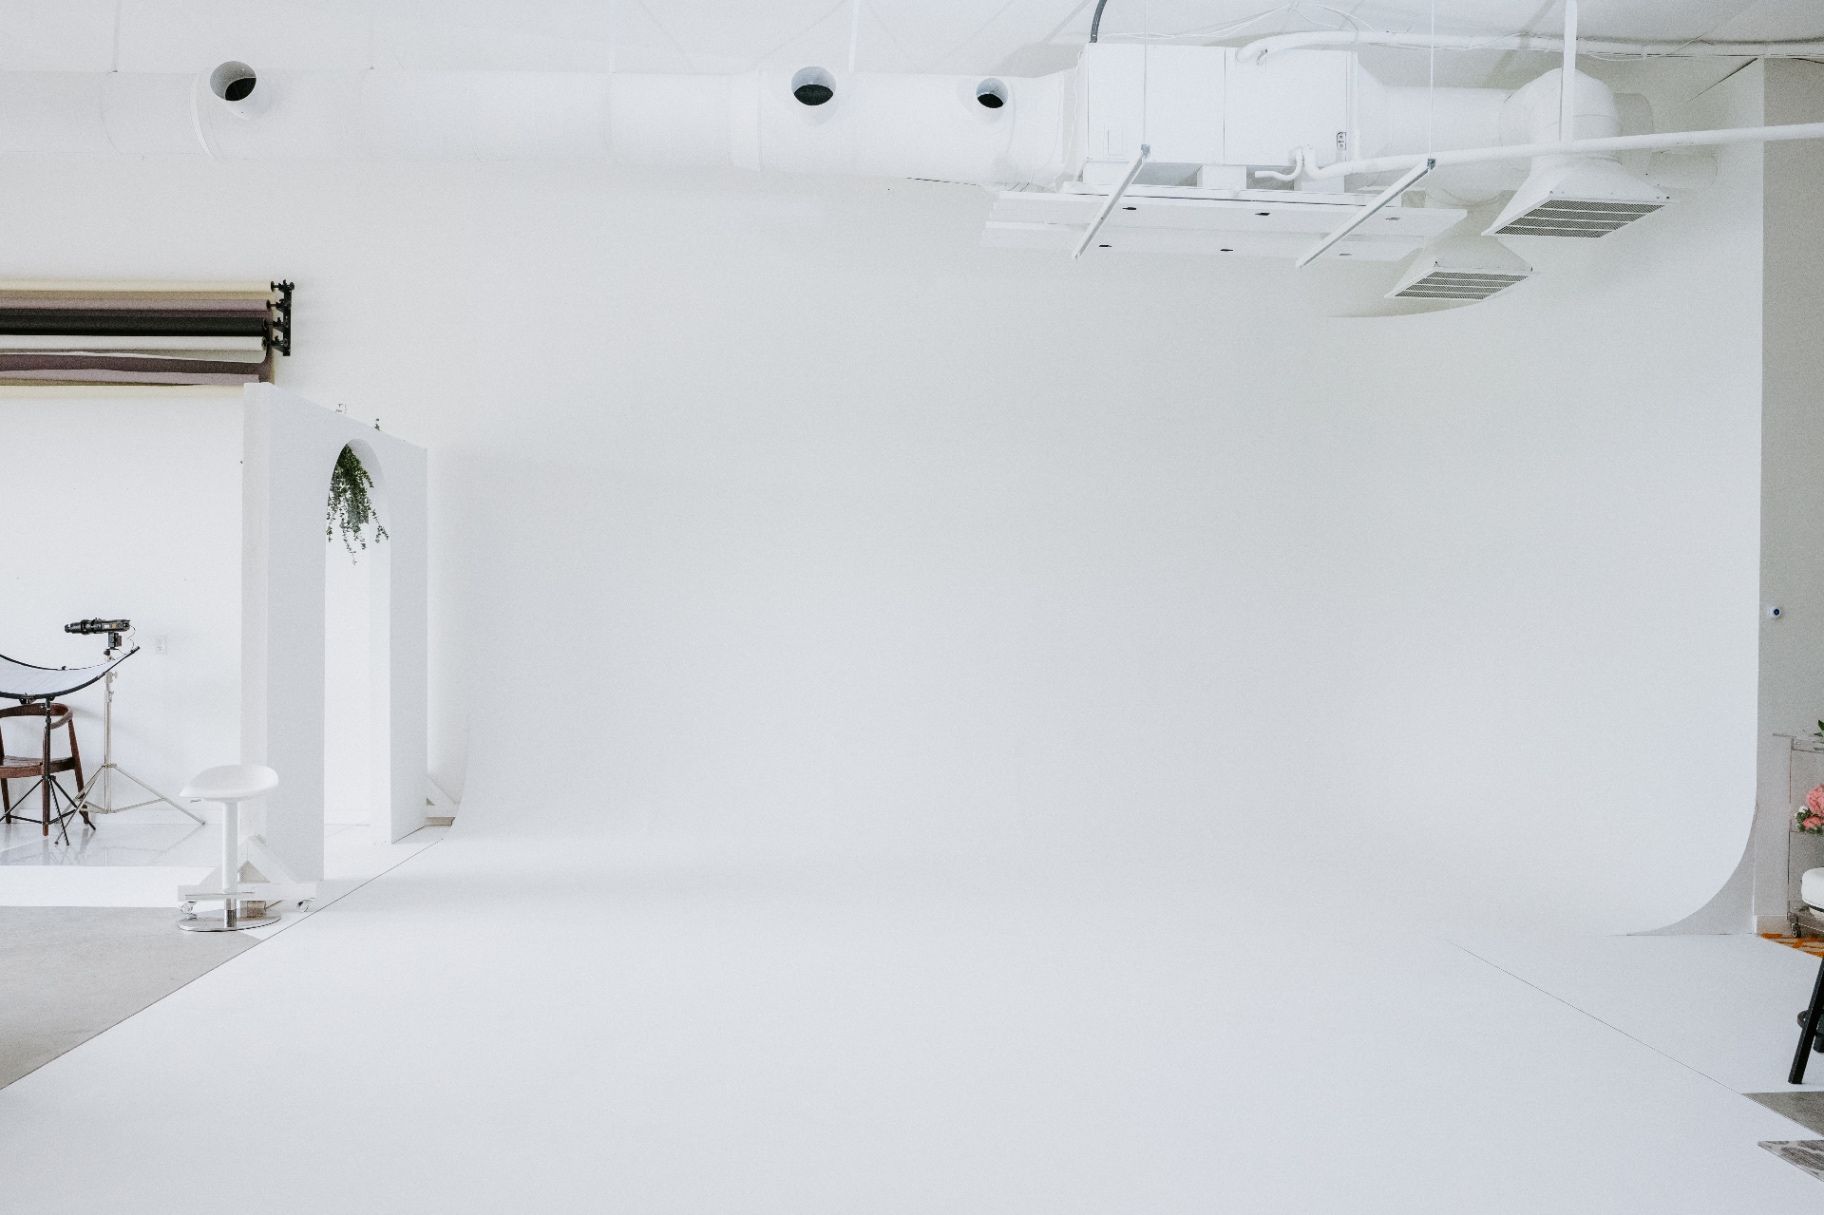
The beauty of working in a space like ours is that you don't have to guess. We’ve designed our 2,000-square-foot studio to be a playground for this very balance.
Whether you're using our massive 40-foot wide shooting space to minimize lens distortion or experimenting with our professional lighting equipment, you have the room to fail, learn, and eventually, master the light.
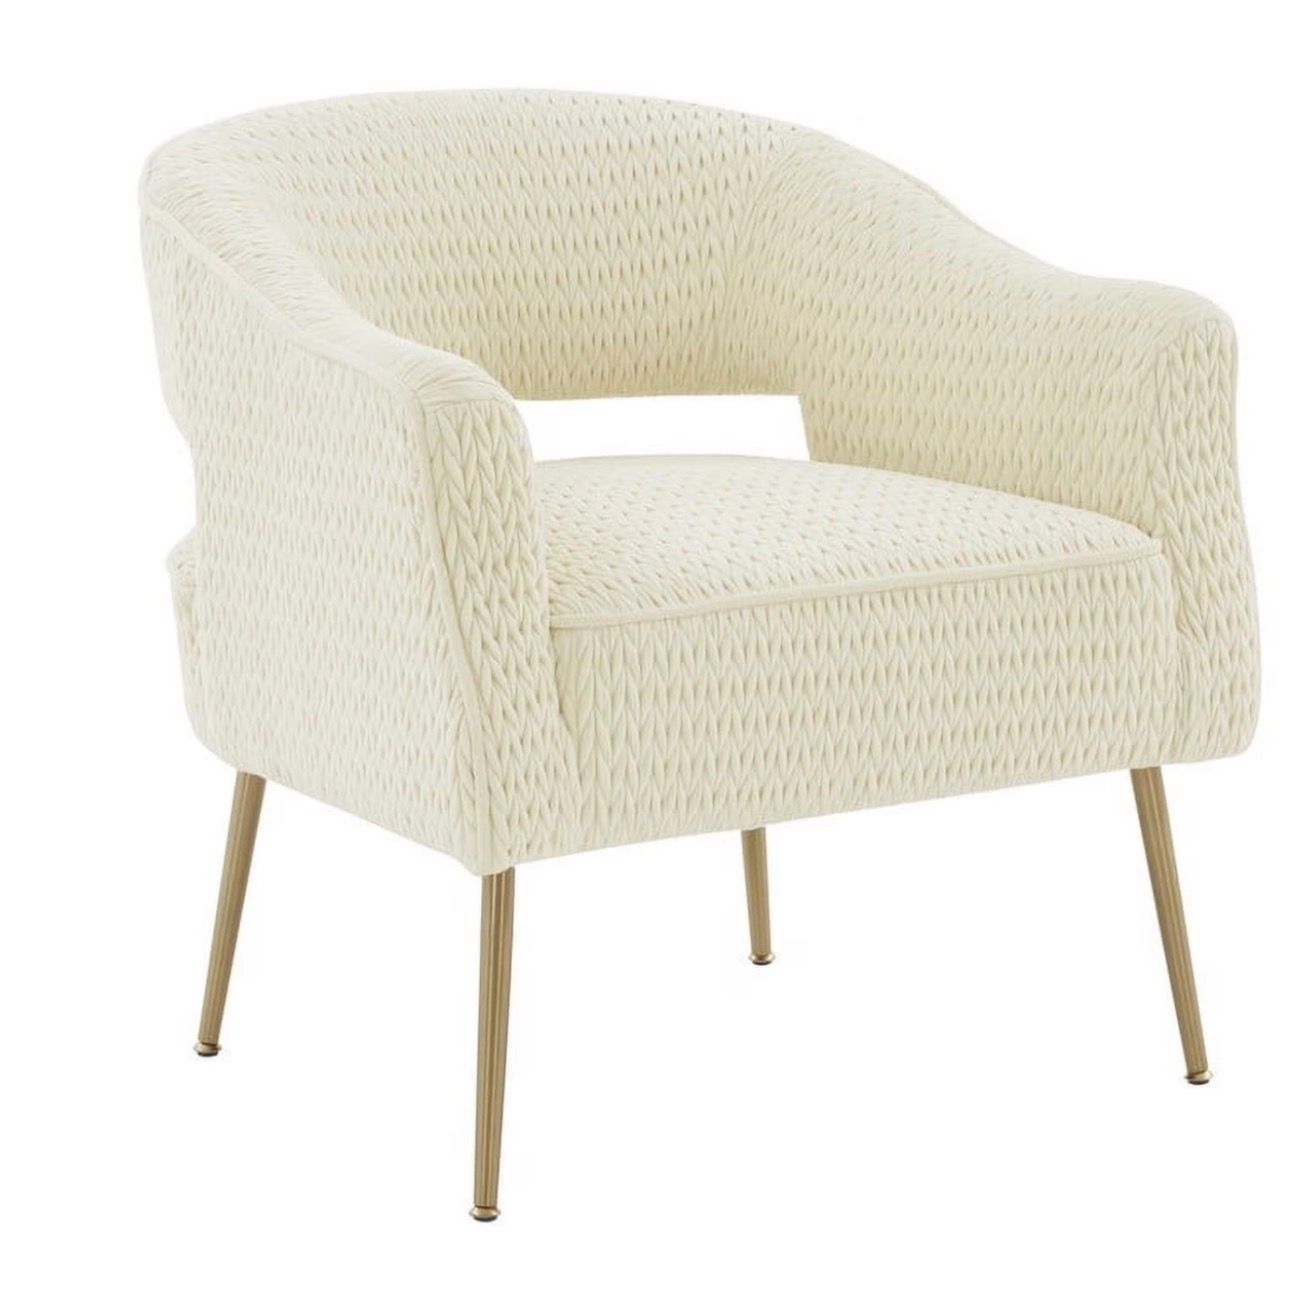
We provide the "pretty" space: the neutral backdrops, the modern cream armchairs, and the high-speed fiber internet: so you can focus on the art. If the math of the triangle still feels heavy, don't sweat it. Our on-site staff is always around to help you dial in your settings so you can get back to what matters: the connection with your client.
A Quick Recap for the Road
When you find yourself overthinking the settings on the back of your camera, just come back to these three questions:
ISO: Do I need more sensitivity (brightness), or do I want the cleanest image possible?
Aperture: Do I want a dreamy, blurry background or do I need everything sharp?
Shutter Speed: Am I trying to freeze movement or am I okay with a little bit of "life" and motion blur?
Mastering the exposure triangle isn't about being a math whiz. It's about understanding how to balance these three forces to tell the story you want to tell.
Take Your Craft to the Next Level
Ready to put these concepts into practice without the pressure of a client hovering over your shoulder? Join us for one of our upcoming workshops or content days. Whether it's a branding swap or a deep dive into portrait lighting, we're here to help you move from "guessing" to "knowing."
Book your next session at Von Creative and let's make some light work together.