
The Science of Smoke: How to Light Your Way to Drama Using the SmokeNinja
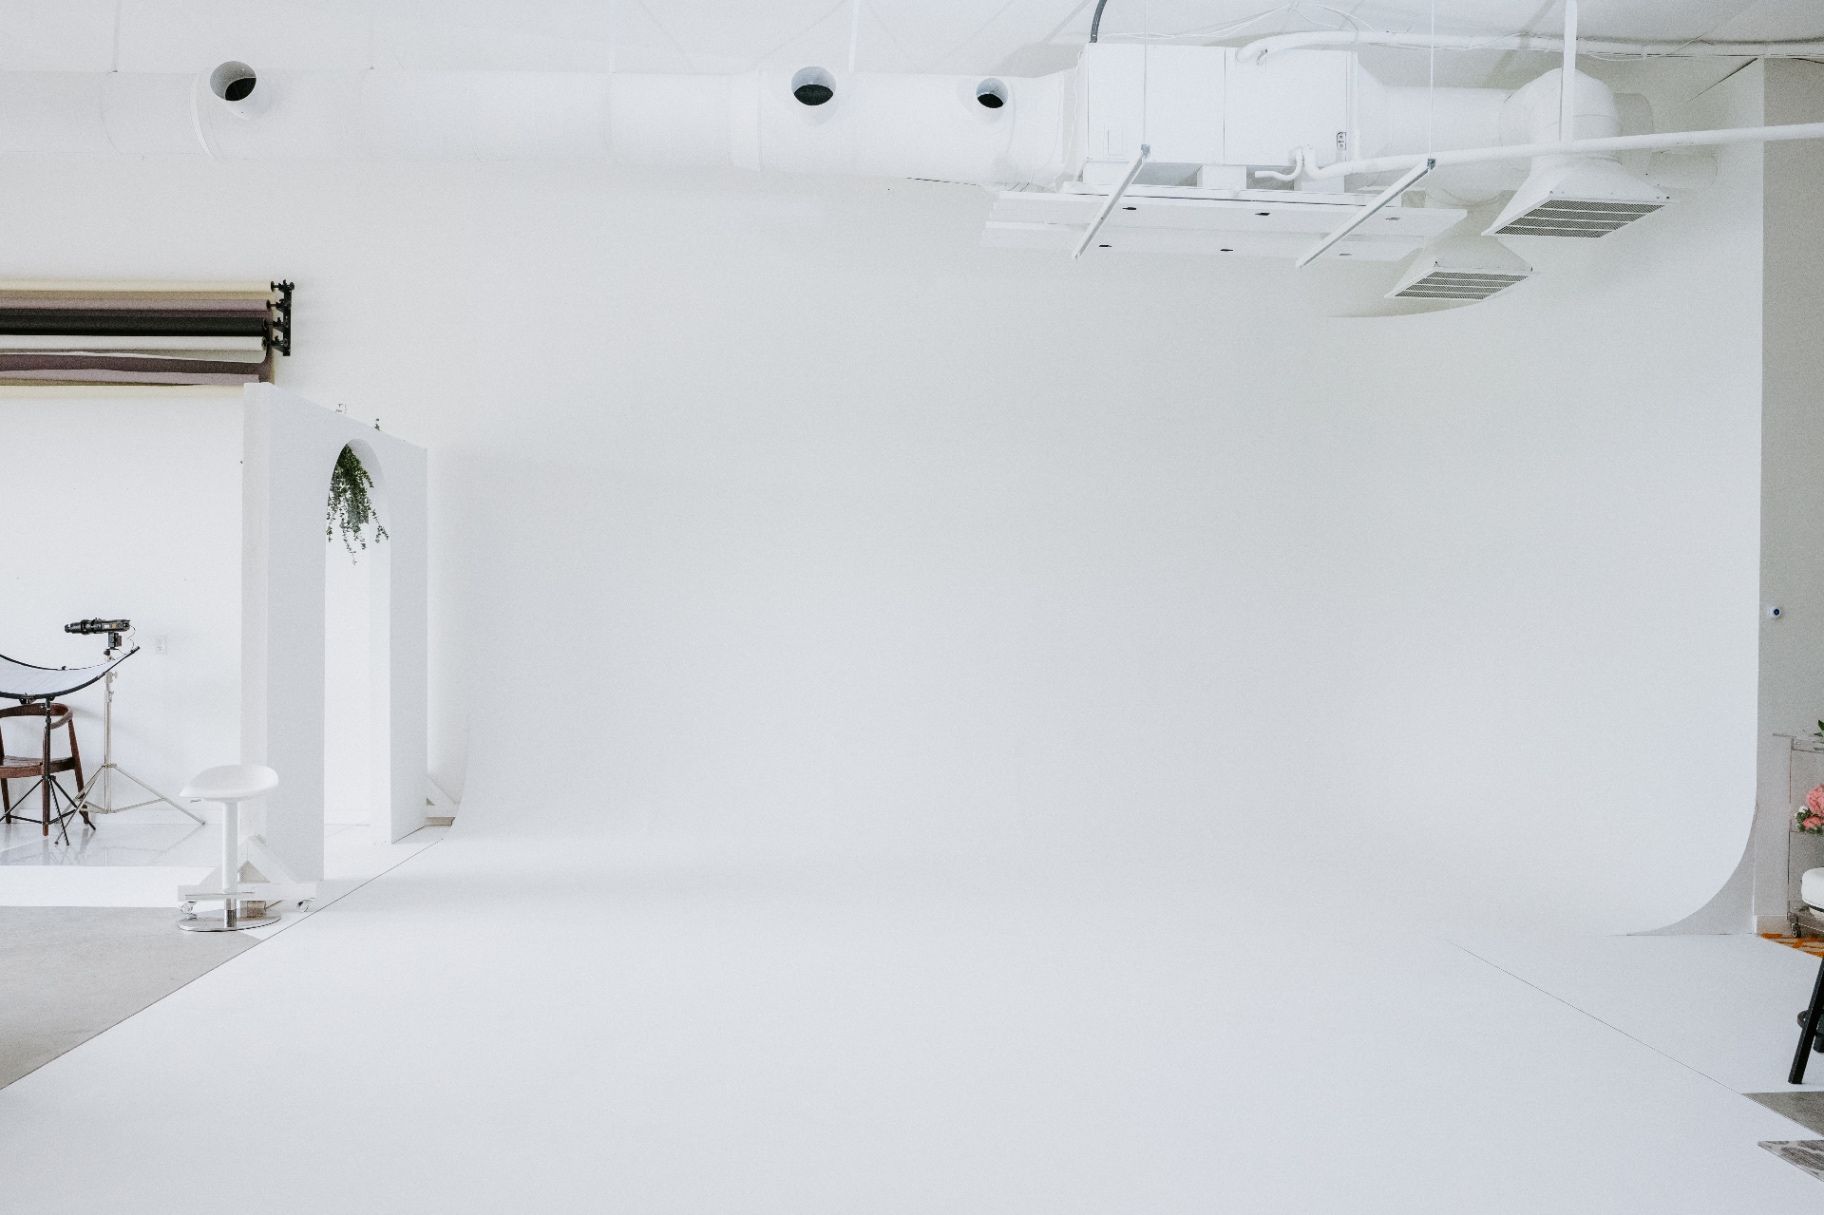
The air in the studio feels different just before a session begins. When the lights are off, the 2,000 square feet of Von Creative sit in a quiet, expectant stillness. The white of the 22-foot cyclorama wall catches the early morning light filtering through the space, and for a moment, the air is perfectly clear. But as creatives, we often find ourselves wanting to manipulate that clarity: to add a layer of mystery, a touch of the ethereal, or a heavy dose of cinematic drama.
Lately, the tool of choice for this transformation has been the SmokeNinja. Unlike the cumbersome fog machines of the past that filled a room with a thick, uncontrollable haze, this handheld wonder allows for surgical precision. It isn't just about "adding smoke"; it’s about sculpting with it. To truly master this medium, one must understand that smoke is invisible without the right light. It is a canvas of tiny particles waiting for a beam of light to give them a voice.
In this edition of the Studio Journal, we explore the delicate science of lighting smoke and how you can use our expansive Richlands studio to create images that feel less like a photograph and more like a captured memory.
The Physics of the Fog
To the naked eye, smoke can look like a flat, grey blur. But through a lens, it becomes a high-contrast texture full of swirling patterns and hidden depths. The "science" here is actually quite simple: light must be reflected or refracted off the smoke particles for them to be visible to the camera.
If you light smoke from the front: the same way you might light a standard portrait: the light hits the particles and bounces directly back at the lens. This often results in a washed-out, milky appearance that hides the very texture you’re trying to capture. To find the drama, we have to move our light sources. We have to look at the smoke from the side, or better yet, from behind.
Precision with the SmokeNinja
The beauty of using a device like the SmokeNinja in a professional setting like our 40-foot wide shooting space is the level of control it affords. You aren't fighting a room full of haze; you are placing a puff of atmosphere exactly where it needs to be: whether that’s pooling at a model’s feet or swirling around a product on our minimalist side tables.
Surgical Application: Use the different nozzles to create "liquid smoke" effects or long, thin streams.
Thermal Management: Remember that these precision tools need short breaks. Use bursts of 10-15 seconds to keep the heating element happy.
The Scent of Creativity: Most high-end fog juices are scentless, but the atmosphere they create is palpable.
The Setup: Lighting from Behind
If you want that iconic "halo" effect where the smoke seems to glow from within, your light source must be placed behind the smoke, facing toward the camera. This is known as backlighting or rim lighting.
At Von Creative, we often suggest placing our 30W LED
behind the subject, hidden from the camera’s view. When the SmokeNinja releases a plume, the light catches the edges of every tiny droplet of glycerin, creating a brilliant, glowing silhouette. It separates the subject from our cyclorama wall and adds a layer of three-dimensional depth that feels incredibly high-end.
Shaping the Narrative with Side Lighting
While backlighting provides the glow, side lighting provides the texture. By placing your light at a 90-degree angle to the smoke, you create deep shadows on one side of the swirls and bright highlights on the other. This "sculpting" effect is what makes smoke look tactile: as if the viewer could reach out and run their fingers through it.
In our studio, we’ve seen photographers use this technique to incredible effect during branding sessions. By using a grid on a softbox to narrow the beam of light, you can illuminate a specific "slice" of smoke, leaving the rest of the frame in a sophisticated, moody darkness. It’s a technique that feels purposeful and curated, aligning perfectly with a minimalist aesthetic.
Volumetric Light and the 22-Foot Wall
One of the most breathtaking effects you can achieve in our studio is volumetric lighting: often called "God rays." This happens when light passes through a gap (like a door or a gobo) and into a lightly hazed room. The smoke makes the beams of light visible as solid shafts.
Because our shooting space is so large and open, you have the room to let these beams stretch out. You can position your light far back to minimize lens distortion and let the smoke settle into a fine haze. This is where the hospitality of our space shines; with high-speed fiber internet and a full equipment library, you can test these complex setups, review your shots instantly, and adjust your haze levels until the atmosphere is just right.
A Note on Texture and Shutter Speed
The way you capture smoke isn't just about where the light is: it’s about how long your shutter is open. This is a subtle detail that many overlook, but it changes the entire "mood" of the archive you are creating.
Frozen in Time (High Shutter Speed): Using a fast shutter speed (or the short flash duration of our studio strobes) will freeze the smoke. You’ll see every intricate swirl, every "finger" of fog. This is perfect for high-energy editorial shots.
The Ethereal Flow (Slow Shutter Speed): If you are using continuous LED lighting, try a slower shutter speed. The smoke will blur into a soft, silk-like texture that looks like clouds or flowing water. It creates a dreamier, more romantic atmosphere, ideal for the gowns in our client closet.
A Recap of the Atmospheric Archive
Mastering the science of smoke is a journey of observation. It’s about watching how the light dances through the air and learning when to let the haze take center stage.
Think in Layers: Place smoke both behind and in front of your subject for maximum depth.
Direction is Everything: Backlight for the glow, side-light for the texture.
Control the Volume: Use the SmokeNinja for precision, especially in a clean, minimalist environment.
Mind the Shutter: Choose between the crisp detail of a flash or the soft blur of a long exposure.
Utilize the Space: Take advantage of the scale of a professional studio like Von Creative to let your light beams breathe.
Create Your Own Drama
There is something transformative about stepping into a studio and having the tools to change the very air around you. Whether you are prepping for a high-fashion editorial or a quiet, soulful portrait session, we invite you to experiment with the elements here.
Our doors in Richlands are open for those who want to push the boundaries of their craft. If you're looking to sharpen your skills with a community of like-minded pros, check out our upcoming workshops, such as our strobe lighting intensives.
Ready to sculpt your own atmosphere? Book your next session at Von Creative and let’s see what kind of drama we can create together.